
My professor in that class was a rather gruff, intimidating fellow--or so it seemed, at first. He could be gruff and intimidating, but he also had a sense of humor and was quite approachable, once I got over my timidity. He was the one to dub me "the dark artist", in that semester of Saturday morning-to-afternoon classes. I like to use strong and vibrant contrasts in a lot of my artwork: the bright shades are very bright, and the dark shades are very dark. Hence, the nickname. I still love a show of strong contrasts in my artwork, no matter material that I'm using as my medium. This past weekend, I got to have one of my best friends spend the evening with me while I was house-sitting, and I gave her a makeup look that is full of vibrant color and contrast. Of course, it helps that my friend, Micah, happens to have lovely fair skin and dark eyes and hair--so the contrast is there to begin with!


The inspiration of this look is the gorgeous, shimmering aquatic hues that we so often associate with mermaids and the ocean. Micah has dark brown hair and hazel eyes, and I've found that bright colors such as the greens and blues that I used here for her makeup work quite well with dark hair and dark eyes. When I've tried the same bright shades on my own eyes--I have medium blonde hair, light skin, and slate-blue eyes--it just doesn't look quite as flattering, so I usually stick with more neutral shades. But! For you ladies who have dark hair and dark eyes, bright colors are your friends! The shades that I used on Micah's eyes gave them an unbelievably gorgeous pop of color, and really lit up her face beautifully. Of course, it helps that she is naturally pretty in her looks and in her character--which is a quality that I honestly believe is found in all of us. :)
And now, without further ado, here is the mermaid eyes makeup tutorial!
With this look, you'll want to start--as usual--with a clean, moisturized face. Dab a little concealer onto your eyelids, from the lash line up to the brow bone, and then dust a little loose powder all around the eye area, below the eye and above it, again from the lash line to the brow bone. There is going to be some inevitable eye shadow "fall-out" during this process, and the loose powder prevents the eye shadow flecks from sticking to the skin below the eyes. Just don't put any concealer below the eyes yet; that'll come later, after the eye shadow is applied and the fall-out has been swept away.
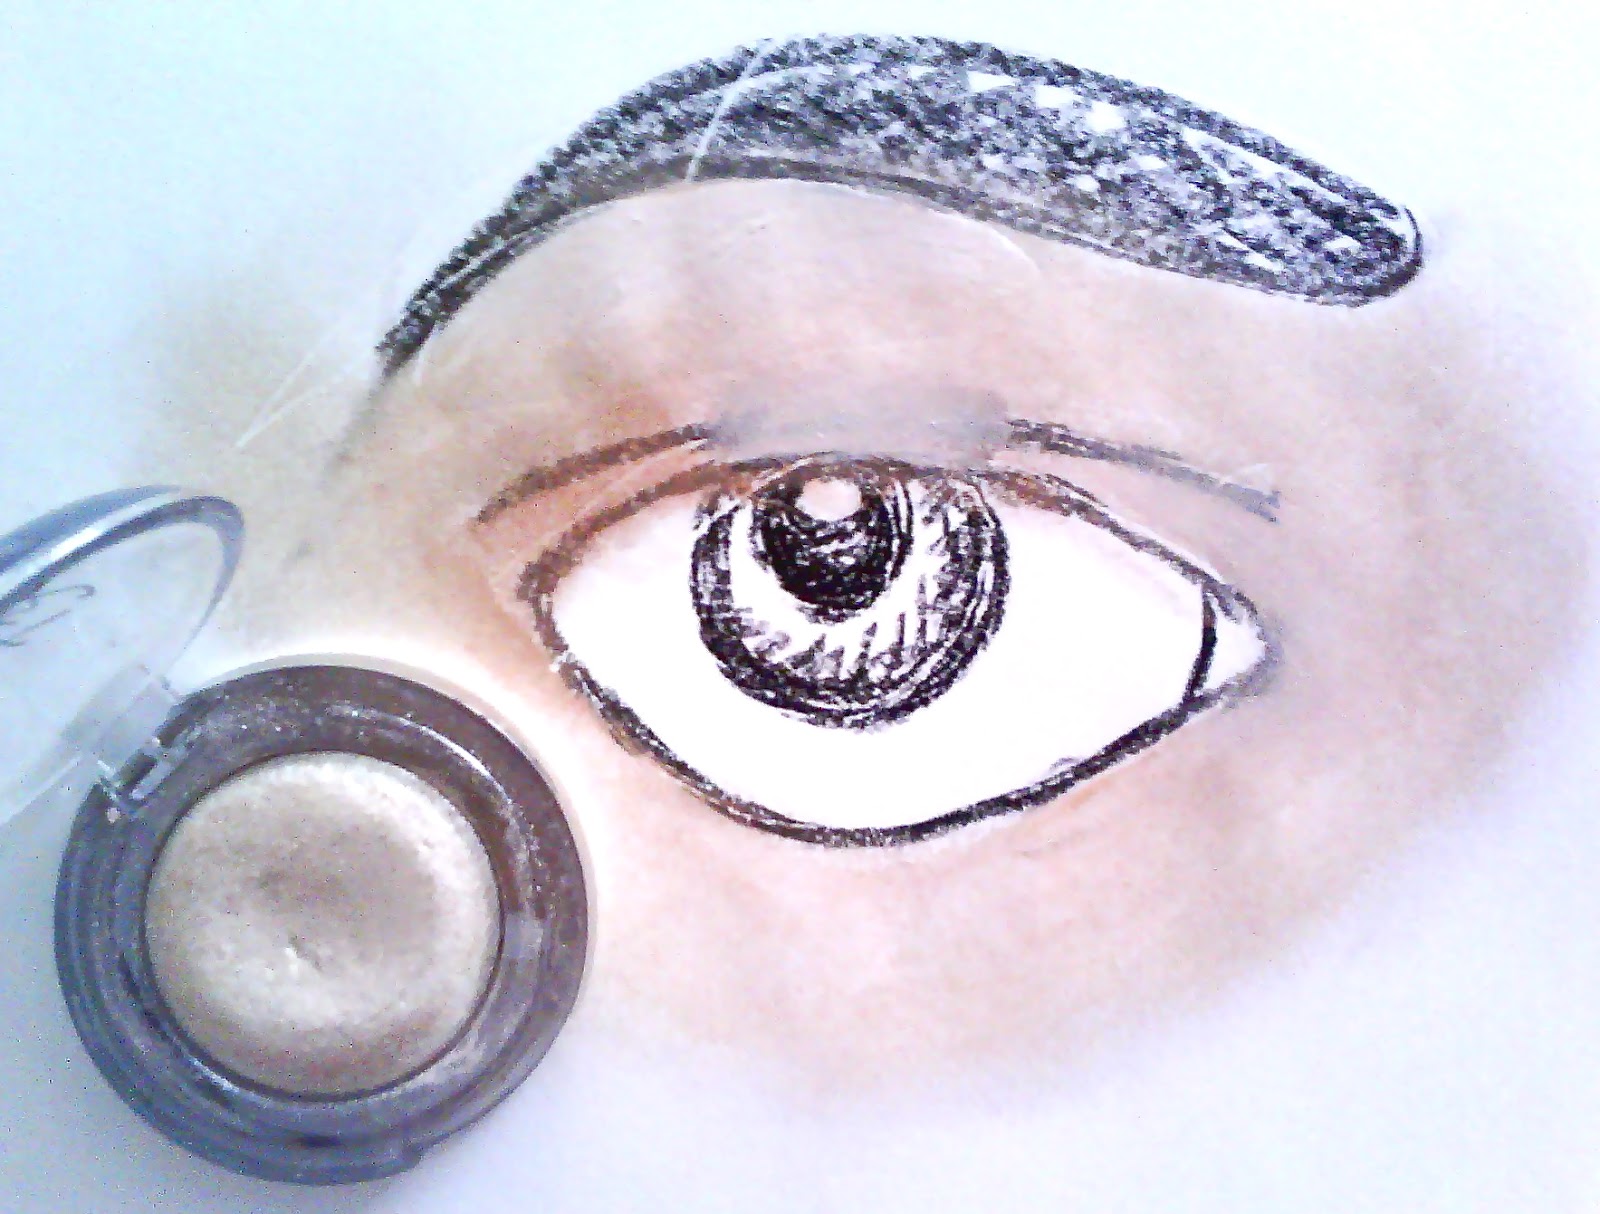
Step #1: Blend together a shimmery white and champagne-gold shade, and apply these to the eye area, from the lash line to the brow bone. Here, I used two shades by the Beauty Rush line from Victoria's Secret. (There are limited products available from this line on the brand's website, but I believe that there were still some of its eye shadows being sold at the store on a recent visit...Beauty Rush is a great option, makeup-wise, because of their four-for-$20 deal. And the makeup itself is great!) Or you could use any other eye shadow brand that you like.

Step #1
Step #2: Apply a light tan-gold hue to just the eyelid, diffusing the color before you get to the crease of the eye. Much to my chagrin, both of the shades that I own (from Lancôme) have been discontinued, so I can't recommend an exact shade here. However, any sand-like shade will do here; the point is that you're using a neutral shade with a bit of shimmer for the eyelid. :)

Step #2
Step #3: Highlight the key areas of the eye--the high point of the brow bone, under the arch of the eyebrow and the inner corner of the eye. Micah doesn't have heavy eyelids, so I used a trick of highlighting to bring her eyes forward a bit. Light, shimmery, and/or sparkly (if you like sparkling makeup) shades will catch the light and bring forward the areas to which they are applied; darker shades will cause the areas to which they are applied to recede. A simple element of art, applied to makeup! I put a dot--literally, a circle--of shimmery white eye shadow to the center of her eyelid, layering it on so that the color really stood out. Wetting down the eye shadow helps intensify the eye shadow itself, when applied to the skin.
Step #3
Step #4: Line the outer 1/3 of the lower lash line with a black eye pencil, and line the inner 2/3's of the lower lash line with a white eye pencil.

Step #4
Step #5: Using a metallic, shimmery sea foam green eye shadow, gently trace over the eye liner that you just applied, moving from the inner corner of the eye to the outer corner so that you don't smudge the darker eye liner into the lighter eye liner. Dab on as many layers of the sea foam shade as you want, until you've achieved the shade that you like. The shade that I used here is called Fashion Forward, by Lancôme; I don't think it's available in stores anymore, but you can order it from their website...Micah did! The neat thing about that particular eye shadow is how it reacts to being layered over eye liner--its metallic quality really shows up well then, giving it a beautiful luminosity.

Step #5
Step #6: Apply a medium blue shade of eye shadow--think Caribbean blue--to the outer 1/4 of the eyelid, diffusing the shade as it gets close to the shimmery white dot in the center of the eyelid. Wing out the blue shade at the outer corner of the eye to elongate the shape of the eye, and blend it into the sea foam shade at the lower lash line. Don't take the blue shade above the crease of the eye; keep it confined to the lid, and softly blend out any harsh edges.

Step #6
Step #7: Apply a few drops of Visine eye drops--or water--to an angled eye liner brush, and dip it into a deep sapphire blue shade of eye shadow. I know it sounds very odd, but the Visine works amazingly well to transform powder eye shadow into almost liquid eye liner, and the combination of the two has terrific staying power. I've never had a problem with the Visine-and-eye-shadow combination fading while I wore it! Apply your improvised liquid eye liner to 3/4's of the upper lash line, starting with a thin line and thickening it towards the outer corner of the eye, flicking it out a bit to mimic the eyelashes . Apply a few coats of a volumizing black mascara to both the upper and lower eyelashes.

Step #7
Step #8: For the optional finishing touches on this look, fill in your eyebrows, apply concealer to the areas of the face that you feel need it, use a highlighting powder or cream on your cheekbones, and apply bronzer and blush. For Micah, I used a light dusting of bronzer on her temples, along her hairline, and a little across her cheekbones. She has a heart-shaped face, with the apples of her face tapering down to a petite chin, so we decided--at her suggestion--to follow another makeup artist's advice and apply her blush just below her cheekbones. This gives a subtle contouring and lifting effect to the face. We used a soft pink shade for her blush, keeping it light so that it didn't compete for attention with her vibrant, stand-out eyes. For a lip color, she used a soft, glossy champagne-pink shade of lipstick. Keeping the lip color rosy but neutral also helps to let the eyes make the major statement of this look, with the rest of the makeup naturally and prettily enhanced.
And now, the finished look!


Micah's eyes look really great with virtually every color and shade of makeup that I have ever put on her--and I've given her a lot of different makeup looks during the course of our friendship, so I really do mean literally almost every color looks amazing on her!--but I've found that bright shades such as the greens and blues that I used here really do wonders to bring out her eyes. And she loves to make her eyes the "statement piece" of her makeup looks, so that works wonderfully.
As you can see, this look is bright but sophisticated. We managed that by keeping the bright shades confined to a simple, slightly winged-out cat eye shape; bright colors can do wonders when used to line the eyes, which is essentially what I did here for Micah's eye makeup. It also helps to use subtly shimmery and metallic shades of bright colors, as opposed to matte; I like matte shades, but sometimes they can be difficult to work with because they're a little harsh. Shimmer blends more easily.
So, there you have it: a tutorial on how to create a luminous, exotic look that would look very pretty on a mermaid or a land-faring lady. As long as you keep the shades softly blended, not too bright, and in that classic winged-out shape, this can be a very nice look that isn't at all garish or overdone.
In the meantime: party plans for the gender reveal of Baby are continuing! Micah and Jennifer--my two best friends--are helping me develop things, along with my mom. We've settled on a country chic theme, with pink and blue accents, and we'll be doing something that's kind of different and fun for the actual gender reveal. (That's for another blog entry though!)
À bientôt!
-- Cait
No comments:
Post a Comment